
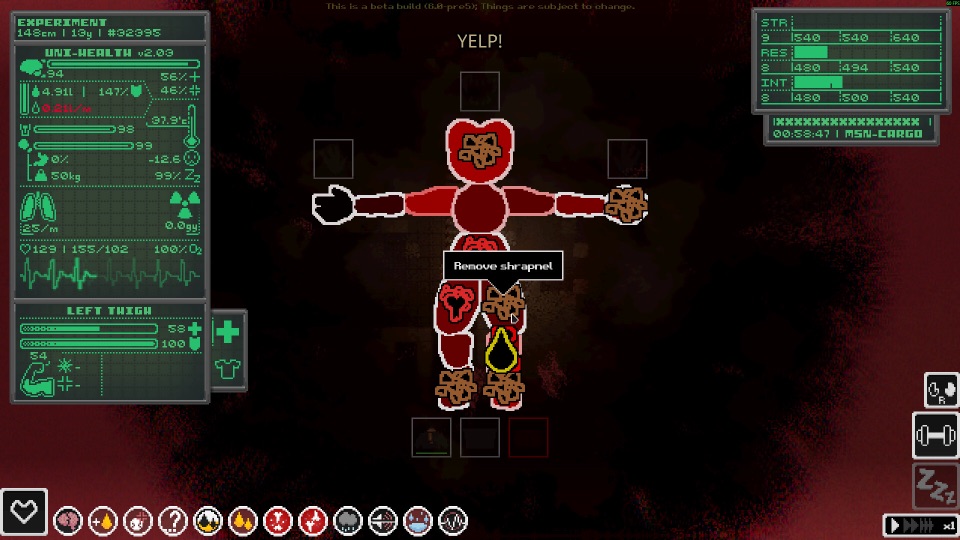
Official Steam screenshot · Game imagery © respective owners. Material credits.
Combine two Ripped Dressings into one Dressing
The central recipe distinction is between the ripped ingredient and the completed Dressing. Search the crafting menu for Dressing, inspect the result, and choose the finished roll rather than a recipe that produces another ripped piece. The tutorial’s request for a full Dressing refers to that completed item, not simply to the presence of dressing material in your inventory.
Multiple players responding to the Steam tutorial question describe the same two-piece combination. That agreement supports a practical first check when you are stuck at this stage of the demo. Gather the two Ripped Dressings required by the selected recipe, then read the menu’s remaining conditions before assuming the task has failed for some unrelated reason.
Check both ingredients, including their condition
The community Ripped Dressing reference records a minimum condition of 90% for each input. Treat that as a documented demo recipe requirement from the community item reference, rather than a numeric rule independently tested here in the full release. Two items with the correct name can still be unsuitable if their condition does not meet the recipe you are attempting.
Inspect each piece separately instead of checking only the first one you found. If the crafting menu does not recognize both inputs, compare their condition and item names with the selected result’s requirements. This narrows the problem to the actual materials involved, which is more useful than repeatedly producing additional damaged pieces without examining why they are being rejected.
Recognize what the tutorial means by full
A Ripped Dressing is a component in this step, while Dressing is the finished item requested by the tutorial. The word full can make the instruction sound like a request to repair or refill an existing object. In the documented solution, the important action is combining the two pieces through crafting to produce the roll with the correct display name.
Do not use the number of objects carried as your only indication that the task is complete. One ripped piece, two ripped pieces and the completed roll represent different stages of the recipe. After crafting, inspect the produced item so you can confirm that you actually made Dressing rather than returning to the same ingredient state you started from.
Use the crafting interface to find suitable inputs
The developer’s tutorial confirms that nearby ground materials can participate in crafting. Check what the menu recognizes around your character rather than assuming every suitable piece must already be held. This is particularly helpful when the recipe appears short of an ingredient that is available in the immediate crafting area.
You can also drag an item onto the crafting button to reveal its uses. That feature helps connect the available material with the finished recipe and reduces confusion between making components and assembling a complete item. Inspect the recipe from the intended output as well, because seeing an ingredient’s uses is different from confirming that every requirement for a particular result has been met.
Inspect Intelligence before spending ingredients
The Dressing recipe is part of the wider crafting system, so its displayed Intelligence requirement matters alongside the ingredients. The developer’s tutorial explains that crafting above your level can carry penalties rather than behaving like a free attempt. Read that requirement before using pieces that you may need for another attempt or for treatment during the run.
Correcting ingredient names does not automatically correct an ability mismatch. If you have selected the completed Dressing and supplied suitable pieces, compare the remaining requirement with your character’s current Intelligence. The menu lets you investigate those issues individually, so you can stop changing the recipe once the real obstacle is a different condition shown by the interface.
Keep crafting and applying a Dressing separate
Making a Dressing creates the item used in wound care; it is not the same action as applying it. The developer’s First Aid instructions describe treating a damaged limb through the health panel and wrapping the Dressing there. If your goal is tutorial crafting completion, first confirm the finished item before moving on to the separate treatment controls.
For treatment, the documented interaction is to right-click drag the Dressing onto the damaged limb, then use the left mouse button to wrap it. Ordinary Dressing slows bleeding and helps skin and fracture recovery, but does not restore muscle health. Keeping those roles separate prevents the finished recipe from being mistaken for a universal solution to every warning in the health panel.
Use the recipe that matches your game build
The supplied research concerns the Steam demo and cross-checks its tutorial against developer-owned English text. Older prototype tables can contain different material quantities, so they should not be combined into a single supposedly current recipe. When another guide gives a fixed canvas count, return to the actual recipe displayed in the build you are playing.
The reliable sequence is to select Dressing, supply two suitable Ripped Dressings, inspect their condition and check Intelligence. Those checks address the problems described by the source material without introducing an unrelated recipe from an older version. The full game and demo remain separate references because the developer announced that the demo would not receive the release changes.
Use the result, inputs and requirement as a final checklist
A useful way to investigate this step is to name each part of the craft separately. The result should be Dressing, the inputs should be the two Ripped Dressings described by the recipe, and their condition should satisfy the menu. Keeping those checks distinct lets you see whether the problem concerns the finished item, one unsuitable component or a requirement that remains unmet even after the correct pieces are available.
Read the task again after the craft rather than assuming that possession of dressing material means the tutorial has registered completion. If you are looking at a ripped component, return to the finished-roll recipe; if you have produced the correct result, inspect the next displayed instruction. This avoids cycling through the same component recipe simply because both item names share the word Dressing and look related in a quick inventory glance.
When comparing a community solution with your run, include the distribution and version as well as the exact item names. The source reports concern the demo tutorial, while older prototype tables can describe different quantities and the release has separate changes. That context makes the documented two-piece solution useful without silently converting every historical dressing recipe into a promise about the current crafting menu.
Sources and version context
This guide uses research checked on November 8, 2026. Demo instructions, announced release content and community projects retain their separate version context. Follow the linked developer or project documentation for the source of each release or installation claim.