
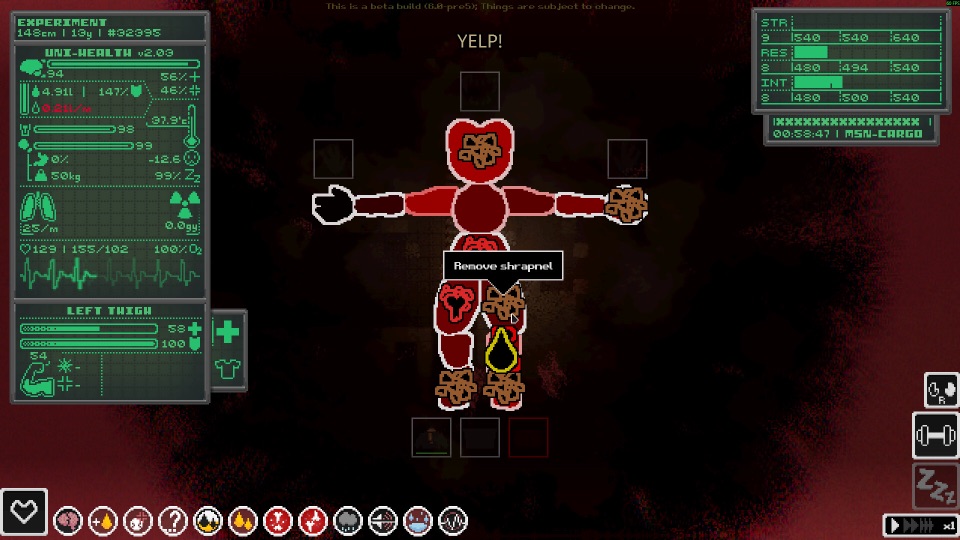
Official Steam screenshot · Game imagery © respective owners. Material credits.
Open the console and read help first
The backtick key is the documented console control, with the key corroborated by the collected binding discussion. Open the console and use help before relying on an example copied from another build. The commands your current installation reports provide the context for the syntax, rather than requiring you to assume that every older command list applies unchanged.
This command console is an interface inside the PC game. It is unrelated to a PlayStation, Xbox or Nintendo Switch release, despite the shared word console. Keep those two meanings separate when searching, because a video demonstrating commands cannot establish that a platform port exists or tell you which commands are accepted in your own installation.
Read the spawn arguments in their documented order
The two collected community command references agree on spawn <id> [position] [condition] [amount]. The item ID identifies the object, while the following arguments concern where it appears, its condition and the requested quantity. Read the order carefully instead of assuming that the first number after an item name always means the amount.
The syntax comes from documentation rather than a runtime test performed for this page. Use the game’s help output to confirm the accepted form before relying on it during a run. If the interface rejects an entry, inspect the command name and argument positions first rather than replacing it with an unrelated command string from a different tool or game.
Choose a documented position option
The wiki command reference lists cursor, player, random and coordinates as position options. The separate spawn reference also describes the cursor position as the default. These are documented options to compare with your help output, not a reason to invent a coordinate format that your version has not shown or accepted.
Position and quantity serve different purposes in the command. If you are trying to understand an example, identify which token selects the location before interpreting the remaining values. This makes the entry easier to read and helps avoid a common source of confusion: treating every optional argument as interchangeable simply because several of them can be omitted in abbreviated examples.
Keep condition separate from the amount
The collected spawn reference expresses condition on a scale from 0 to 1. The amount is a separate argument after condition in the documented form, so the same-looking value can occupy a different role depending on its position. Check both arguments before using an example, rather than reading the last two values as an unexplained pair of item counts.
This page does not establish additional limits for every item or every build. The useful confirmed distinction is the order and meaning reported by the references, with in-game help remaining the place to compare the current command. Keep the example limited to what is documented instead of adding unsupported guarantees about inventory placement, achievements or how all object types behave after spawning.
Use internal IDs rather than assuming display names work
An English display name can differ from an item’s internal ID. The developer’s English file maps the internal ID bandage to the displayed item name Dressing. That mapping explains why an example may use a word different from the one you see on the item in the game’s English interface.
A documentation-based example is spawn bandage player 1 1. It combines the documented argument order with the checked bandage ID and requests the player position, condition 1 and amount 1. The entry has not been executed for this guide, so confirm it against your build’s help output rather than treating its appearance here as a claim of first-hand testing.
Check host and admin rules in multiplayer
Casualties Together has its own server-command permissions and host or admin rules. A command available in a single-player context therefore should not be assumed to be available to every connected client. Check the mod’s documentation and your role in the session before interpreting a rejected command as a typo or a missing item ID.
The multiplayer mod is separate from the base game’s official single-player listing. Its version, configuration and permissions add context that a vanilla command reference cannot supply on its own. Describe those details when asking for help, because two players entering the same text can be operating under different server rules even when their game windows look similar.
Troubleshoot syntax without adding unrelated tools
Start with whether the console opens, whether help responds and whether the documented command form matches what your build reports. Then inspect the internal ID, the position option and the two numeric arguments in order. Working through those specific checks is more informative than immediately assuming that spawning requires a trainer or a different mod loader.
The supplied material does not corroborate SpawnItem_DepthExtender-style commands, so they are not part of these instructions. It also does not establish that spawning preserves achievements or has identical results in every modded session. Keep the task focused on the documented console entry and the current help output, with the version and multiplayer context attached to any further troubleshooting.
Read the example one token at a time
In the documented example, spawn names the command and bandage names the internal item ID. The next token, player, specifies the position, while the final two values occupy the condition and amount slots in that order. Reading the entry this way is more useful than memorizing a single line, because it lets you compare another example with the documented syntax without guessing what each number means.
The English display name Dressing and the ID bandage are deliberately kept together in this explanation. Searching only for the display name can hide the ID a command reference expects, while copying an ID without knowing the displayed item can produce confusion about the intended result. Check the developer’s naming context and your build’s help output before changing an example to refer to a different object.
In a multiplayer session, do the same syntax check and then consider your permission level separately. A correct-looking line can still be unavailable under the mod’s host or admin rules, so changing the spelling repeatedly may not address the obstacle. Keep the command text, the product version and the session role together when describing a problem, without assuming that a single-player example grants the same access to every client.
Sources and version context
This guide uses research checked on November 8, 2026. Demo instructions, announced release content and community projects retain their separate version context. Follow the linked developer or project documentation for the source of each release or installation claim.