
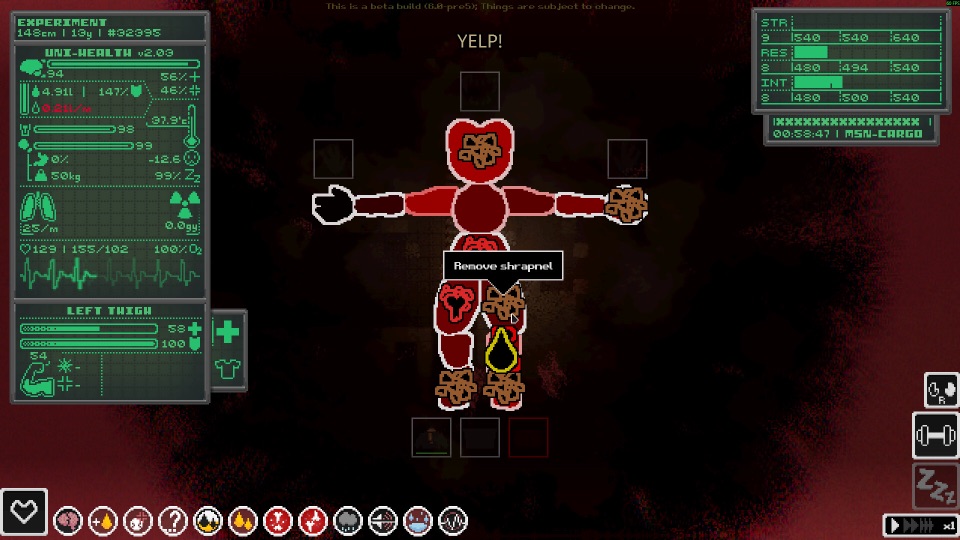
Official Steam screenshot · Game imagery © respective owners. Material credits.
Find the correct game root through Steam
Use Steam Library, open the game’s Manage options and choose Browse local files. This takes you to the installation whose files you are about to modify, avoiding confusion with an unrelated folder that happens to contain an old download. The documented co-op instructions specifically target the Steam demo, so confirm that this is the product you intend to use.
The game root is the directory beside the executable in this workflow. It is not automatically the same place as a folder containing an unextracted mod archive or a previous itch.io build. Keep those locations separate, because correctly downloading a package does not install its loader into the Steam demo that you launch from the library.
Use the BepInEx release required by the mod
The documented demo workflow uses the x64 BepInEx loader. The Casualties Together README links BepInEx 5.4.23.5, which is a package-specific requirement recorded by that author. Treat it as the requirement for that documented installation rather than a universal rule that every current or future mod needs the same release.
Do not replace a stated dependency with a different major version merely because its number is newer. Compare the mod’s target game build, loader requirement and additional dependencies before extracting files. This addresses the compatibility question at the point where it matters, instead of trying to diagnose a mismatched installation after several unrelated plugins have been added.
Install the loader and launch once
Extract the required loader into the game root as directed by its instructions. In the collected Windows demo workflow, it belongs beside the game executable rather than inside an arbitrary nested archive folder. Check the destination before launching so that the installation you are testing is the one you actually modified.
Launch the game once, then close it so that the loader can create its folders. The player reports and author instructions use this first-launch stage before placing ordinary plugins in the generated directory. If the expected folder is absent, return to the loader requirement and extraction location rather than continuing as though adding a DLL will resolve an unconfirmed loader setup.
Install plugin files together with their resources
Ordinary plugin DLLs generally belong in BepInEx/plugins for the documented workflow. That path identifies the usual plugin location, but it does not imply that every package consists of exactly one file. Keep resources and dependency files that the author supplies or requires, because the plugin may need them alongside its executable component.
Read the archive instructions before deciding which files to move. A package containing a resource directory should not be reduced to whichever DLL looks most important. The skin-mod documentation illustrates this point by keeping its ChangeSkinMP DLL and resources together, while other packages describe a different extraction step for the game root.
Respect the Casualties Together archive layout
Casualties Together specifically instructs players to extract the contents of its archive’s mod folder into the game root. That is more specific than a general instruction to put all mods in the plugins directory. Follow the package’s complete structure so that required files are not lost by copying only a DLL out of context.
The same README targets Steam demo app 4576510 and describes launching through Steam for its lobby-based play. Those details belong together: the selected game product, required loader, archive layout and launch method are all parts of that installation. An older co-op video can help locate the project, but it should not override the maintained written instructions for the package you downloaded.
Check versions and dependencies before adding more mods
If a plugin does not load, first identify the game build, the loader release and the package version you installed. Then compare the required dependencies and directory layout with the author’s instructions. A problem in any of those areas is more specific than a general conclusion that the game cannot be modded.
Adding more mods before resolving the first mismatch makes it harder to identify what changed. Keep the troubleshooting question tied to the installation that failed, including whether it is the Steam demo or a different distribution. The supplied material does not support deleting saves as a routine fix, so that is not part of this setup sequence.
Separate community managers from compatibility guarantees
Casualties Hub is an independent community tool that documents plugin management and custom-asset backups. Its existence does not replace the dependency requirements of the individual packages it manages. If you choose to use it, keep the manager’s own instructions separate from the mod author’s statement about supported builds.
The upcoming full release introduces changes that the demo will not receive, according to the developer’s announcement. A tutorial recorded for the demo consequently does not establish compatibility with the full game. The reliable installation principle is to match the target product and version first, then follow that package’s loader, file layout and dependency instructions without inventing a one-click guarantee.
Identify the installation stage before choosing a fix
There are several distinct stages in the documented setup: locating the game, installing the loader, running it once and placing the mod’s complete files. A problem at the loader stage is different from a package missing one of its required resource folders. Describe the last stage you completed and the instructions you followed so the next check can address that installation instead of starting an unrelated sequence of changes.
For the co-op package, retain the archive’s mod-folder context when explaining what you extracted. For ordinary plugins, name the DLL and any dependency or resources directory that the author lists alongside it. These details distinguish a package-specific layout from the general plugins path and help avoid a common error in shortened advice: preserving the destination folder name while leaving out files that the package actually needs.
If you compare two installation tutorials, note their dates, game targets and loader releases before combining steps. The collected video descriptions include an explicit warning that a demo tutorial can become outdated after full release. Prefer the chosen package’s supported-build statement and written layout, keeping the sources as references rather than treating a successful older video as a guarantee for a different installation.
Sources and version context
This guide uses research checked on November 8, 2026. Demo instructions, announced release content and community projects retain their separate version context. Follow the linked developer or project documentation for the source of each release or installation claim.